
Beyond the Frame 58/
Bhutan: transformations amidst saffron hues. The magic -1 ⅓ exposure setting. Kodachrome: a new and enhanced emulation for Photoshop and Lightroom.

Bhutan
In the dusty, golden light of a small room inside Thangbi Goemba temple, monks are metamorphosing. Heady with the aroma of ancient wood and yak butter, the room glows, saffron and amber.

Outside in a sun-drenched courtyard, the first energetic dances of the annual Tsechu – a traditional Buddhist festival – have begun. But I’ve escaped the crowds and found my way to a backstage room where performers are preparing.
Ritual tsechus have been performed here for 555 years. The walls are century-old canvases, copper-coloured, upon which layers of dust and scratches and smudges and fingerprints have created a crazy, accidental fresco.
Sunlight from a high window is falling upon the crimson robes of a novice monk, which flow around him like wine. From above, he is watched with unflinching, carved intensity by a brown bear, a wide-eyed stag, and a grinning, silver deity.
The monk is perhaps 14 or 15 years-old. But I suspect he’s been here for centuries, in one incarnation or another.

The sound of swishing cloth announces the arrival of an older monk. He wraps and ties his robes with swift, well-practised movements. A moment’s pause. He reaches up for the stag-head mask, breathes in deeply, places it upon his head. When he exhales, he is more stag than man.

The sound of drums and horns from the courtyard has grown to a crescendo. Backstage, the energy is rising too. Monks practice their dances, swirling through the room, bowing deeply, then leaping with knees high.

Outside, the sunlight is harsh and unrelenting. The performers wheel and whirl in a frenzied flash of bright colours. The contemplative has yielded to the chaotic. It’s definitely time to change lenses.

Lessons learned?
I like to ask myself what I might do differently with the same opportunity in the same time and place. I think that’s how we learn. How we improve.
These are portraits, by any definition. And I’m not disappointed with them. But in that backstage room, with those colours and costumes, any reasonable photographer should be able to make appealing photographs.
I did put myself into the right place at the right time. That’s partly from experience, partly from curiosity. Those are necessary attributes and I’m pleased I made the effort to step away from the main event in search of something less obvious.
The moment had my full attention. How could it not? But if… if I could step back in time, I’d think more about why and less about what. It’s clear what was happening backstage, I think I’ve documented that. But did I capture the why?
The word that keeps coming back to me is Threshold. There were literal, architectural thresholds dividing performers from the stage. There were abstract thresholds, the dressing before the dance, the silence before the song, the breath before the chant. Present too was the threshold stepped across by man and mask, the deeply symbolic threshold that transforms a monk into a wrathful Mahākāla, guardian deity of the Buddhist faith.
Transformations are defined by the point at which the threshold is crossed. When I return to Bhutan, I’ll think about how I might show those transformative moments in a photograph.
It’s good to have a purpose!

From story to setup. Now for some practical insights.
Practical Tips for Exposure Compensation
People sometimes assume that photographing in these conditions requires technical wizardry: fast lenses, high ISO, anti-shake lenses and the rest. It’s true these things can help but they’re rarely more than decorative finesses. The foundations are built upon quiet attention and the essential scaffolding is formed of practised technique.
The magic one-and-one-third
Cameras are stupid. Even the very clever ones with computational analysis built upon libraries of a million photos can only guess. Nothing and nobody is better equipped to judge a scene than the photographer who’s standing there.
When a camera estimates exposure settings, it has only one aim: make everything average and neutral.
My advice is to use the camera’s built-in meter as a starting point but not to rely on it. Generally, the camera wants to record the world as uniformly lit, neutral, so it’s going to overexpose dark scenes like this temple room, trying to force light into a frame where there is little.
You might be tempted to think, “Well, given how much dynamic range modern cameras have, I can adjust the exposure in photo software later on.” And you’d be partly right.
You might even declare, “Ha! But given the exponential nature of the way sensors record luminance values, there’s more data in the highlights than in the shadows, and so more latitude to make adjustments.” Again, you’re partly right – and also too clever by half.
My advice is to follow the old adage, Get It Right In The Camera.
Why? Two reasons:
There’s less need to fiddle around in Photoshop, dragging and stretching data to compensate for an “incorrect” exposure.
Allowing the camera to set exposure without manual adjustment increases the risk of blown highlights. Yes, there’s more information in the highlights but any blown areas, where no detail exists, cannot be recovered.
You might read or hear advice suggesting, “ETTR”. Expose To The Right. Push your histogram data as far right as possible. Yes, it’s technically accurate but it’s not practically useful. And I say again, blown highlights!
Compensation
What does this mean in practice?
There are many ways to skin a cat. In a situation where you have time and the light is constant, you could make test frames, check the histograms and adjust exposure manually, leaving aperture, shutter speed and ISO fixed.
But those situations are rare. Light is always changing. People move. Doors open and close. Clouds drift overhead. We need a more versatile solution.
-1 ⅓
In a low-light situation, such as the temple changing room, my approach is to use Aperture Priority with a fixed ISO. I choose the ISO first, the lowest that will still give a decent range of shutter speeds, ISO 400 in this case.
Then I set Exposure Compensation to minus one and one-third stops.

Now I’m set. The ISO is fixed. Shutter speeds will adjust automatically. Exposures will all be 1⅓ below what the camera would record without the compensation dialled in.
I can change apertures if necessary but, beyond that, I can forget about the camera settings and concentrate on what’s happening. How are people moving, where’s the light falling, who’s about to laugh, sing, dance…
Typically, I won’t look at the camera settings again. I never, ever have the camera’s auto-review turned on so I’m never distracted or tempted to look at the images I’ve just made. I know the process, it works, I trust it. There’s no need to check.
TL;DR
Whenever I’m working in a location with subdued lighting like this, no matter what camera I’m using, I’ve found that an exposure compensation setting of minus one-and-one-third-stops produces an accurate exposure more often than not.
Try it. If it doesn’t work for you, stick with what does.
“Which of my photographs is my favourite? The one I’m going to take tomorrow.”
— Imogen Cunningham
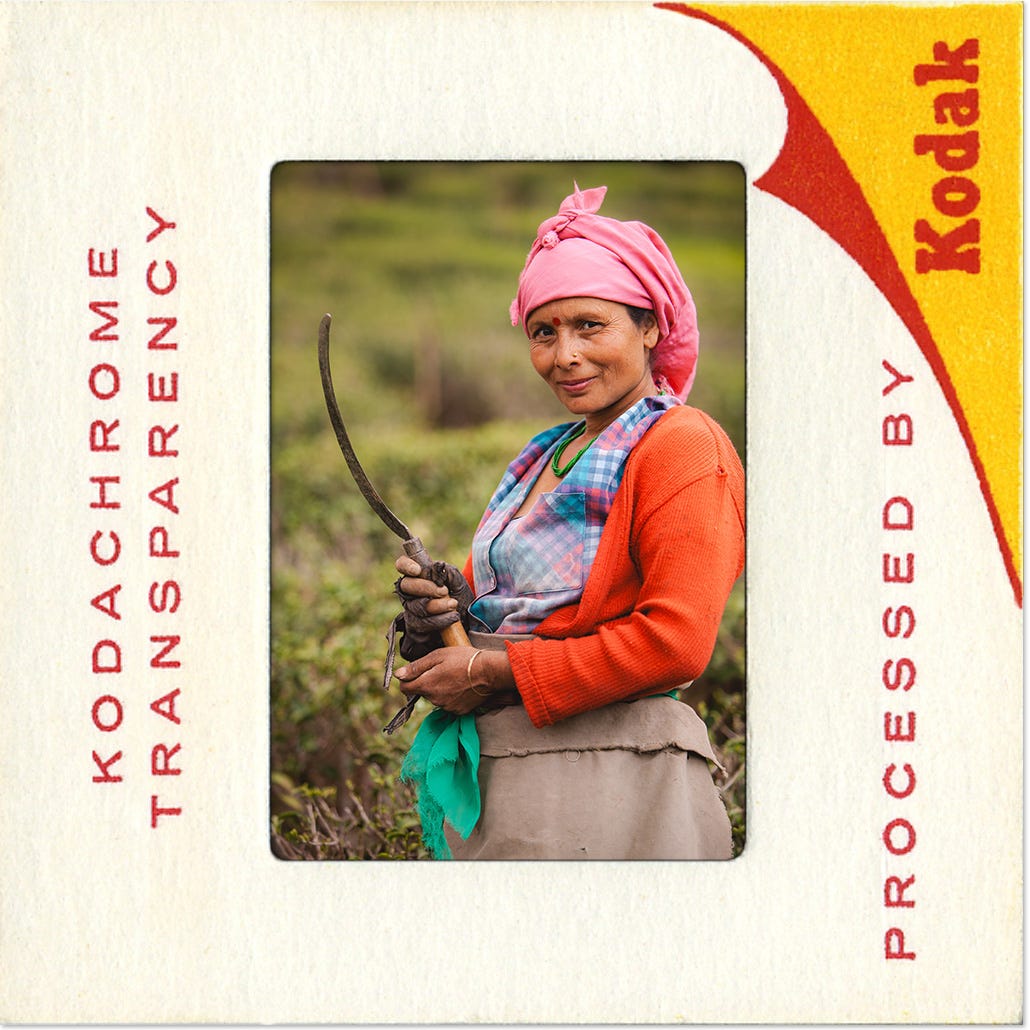
Kodachrome Emulation
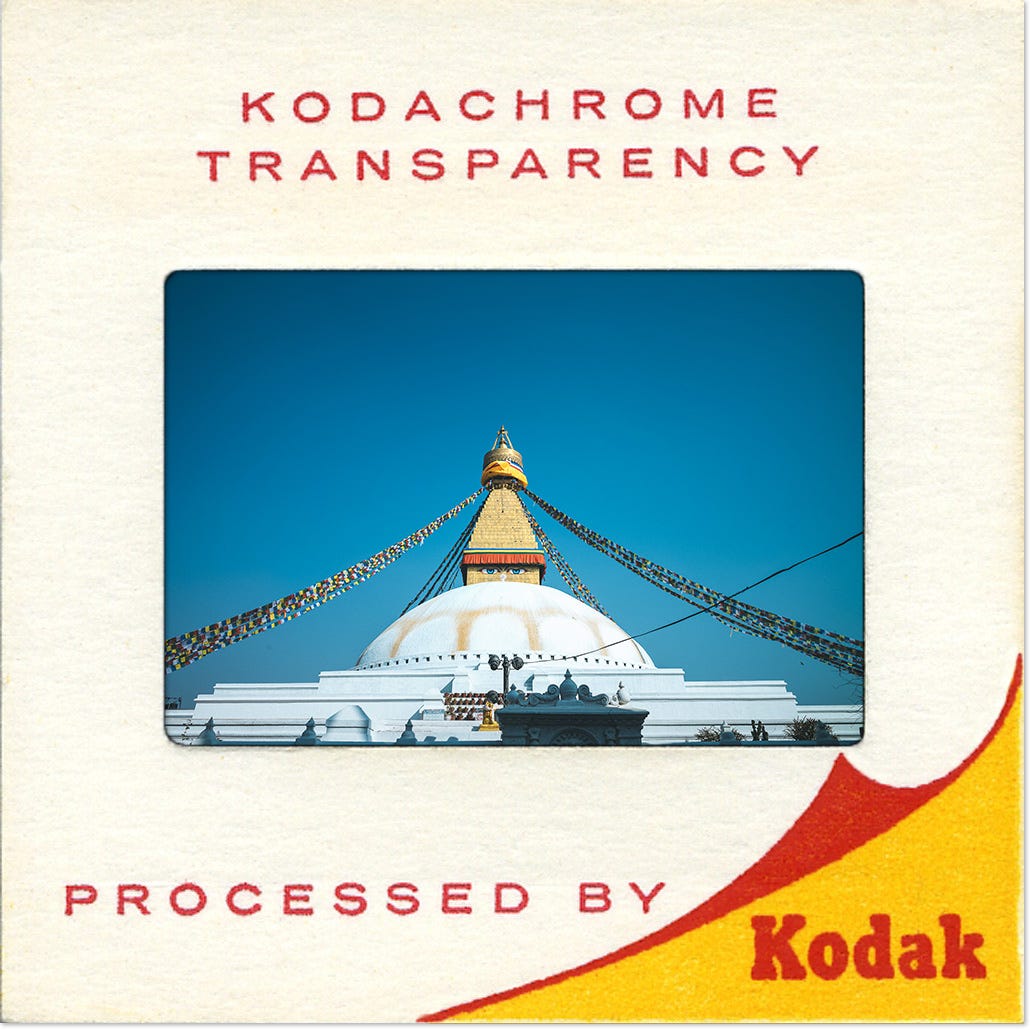
The images from Bhutan (above) were processed in Lightroom using a new, significantly enhanced (soon to be released) version of my Kodachrome emulation preset.
I’ll share more details in upcoming editions but, for now, here are the headlines:
The Kodachrome emulations are built upon scans of genuine, colour-calibrated, Kodachrome slides (kept under lock and key) combined with data from thousands of Kodak Lab reports.

All camera makes and models supported by Camera Raw are now supported.
Paid newsletter subscribers will be eligible for 50% discount.
Founder members will be able to download for free.

Kodachrome Emulation Pack Contents
Kodachrome II Enhanced Profile (1961–1974)
Kodachrome 64 Enhanced Profile (1974–2009)
Emulation Modifications and Simulations
Scanned transparency
Projector Lamp Colours
Projector Falloff
Faded in Light
Faded in Dark
Pushed Exposure
Expired Film
Supported Cameras
All camera makes and models supported by Camera Raw
Works with:
Adobe Photoshop
Adobe Camera Raw
Adobe Lightroom
Adobe Lightroom Classic
Lightroom for iOS and iPadOS
Price
£39 (One-time, no subscription)
Beyond the Frame PAID SUBSCRIBERS = 50% DISCOUNT
Beyond the Frame FOUNDER SUBSCRIBERS = 100% DISCOUNT (FREE)
I’ll bring news of a release date in a future edition of this newsletter.
I hope the week ahead treats you kindly.
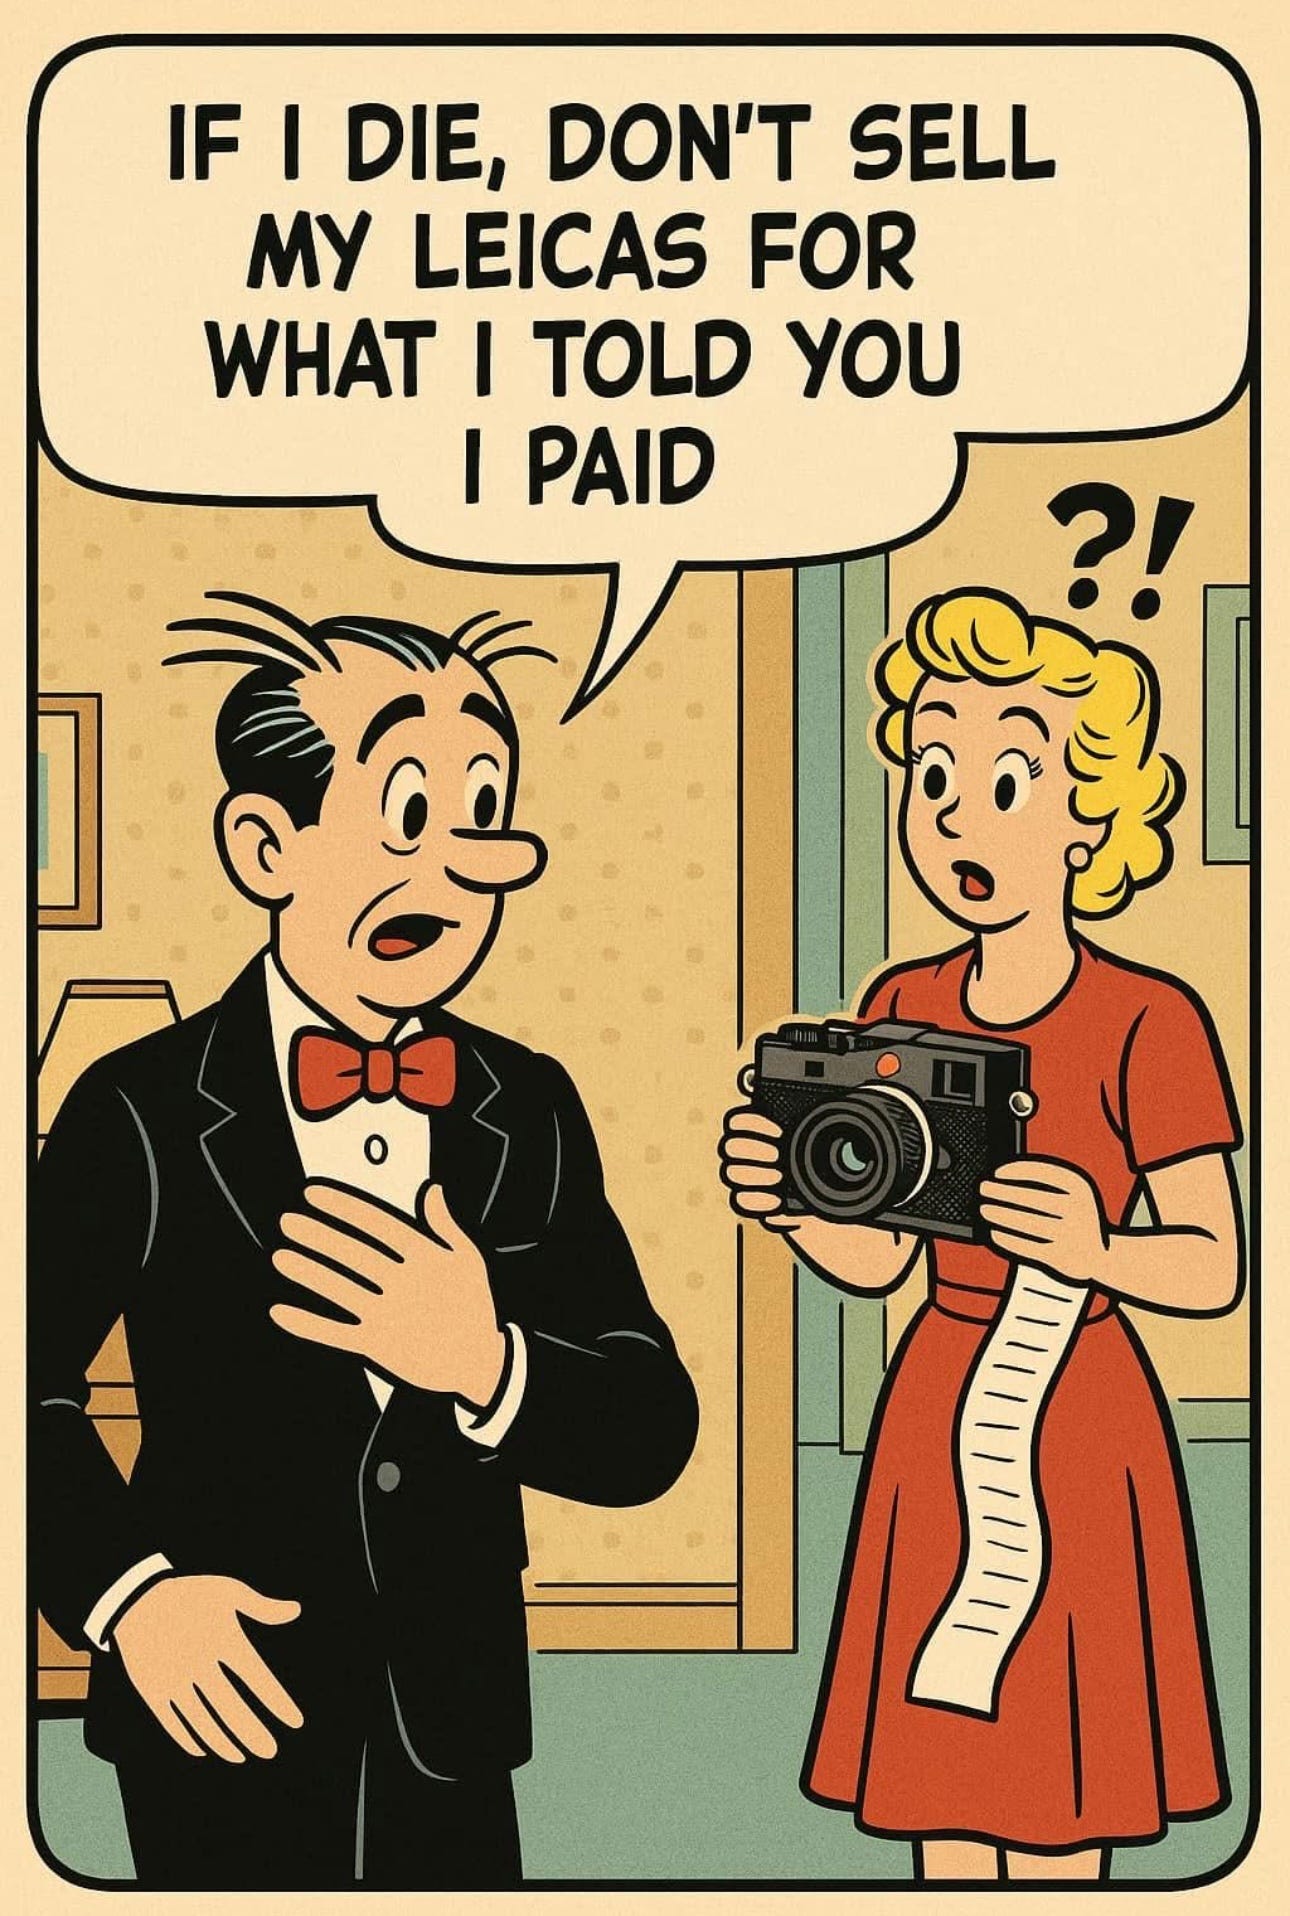
I’ll leave you with this cartoon, proposed by Mrs G., who, for the record, is under no illusions about the cost of Leica gear. Isn’t that what birthdays are for?
Until next time, go well.

Directory: Beyond the Frame newsletter archive.
Resources: Recommended books, films, gear, media etc.
Beyond the Frame 57/

The value of acknowledging what’s hiding in plain sight. How a construction container provided a solution to a photographic problem. Plus, reflections on the 2025 Photo Book Switzerland book fair.
Looking forward to the new Kodachrome profiles. I love the current ones; I use them all the time!
If I may ask, did you manage to improve the consistency across cameras (and camera brands)?
Like Fujifilm cameras, for instance, that don't have a neutral camera profile, or any of their simulation profiles available.
I noticed you built those starting with the Adobe Standard profile, which gives quite a different result (although still pleasing), even more so with the updated 2014 standard profiles, which are far less saturated.
I shoot with both Nikon and Fujifilm—and sometimes even Panasonic. It's not uncommon for me to use them all on a shoot, but I still want my images to look consistent right away when I import them and apply the preset.
When I discovered the issue, I spent a few months experimenting, trying to find a solution and eventually found a way to "tweak" the camera profiles, so that now if I shoot the same scene with any of my cameras, the photos will be pretty much identical, save for minor WB compensation.
I wondered if you improved them on that front as well.
I don’t understand why, if you have dialed in adequate exposure compensation, you need to fix the ISO at one number. And why would you rather have the camera pick shutter speed instead of ISO when you have negative exposure compensation? Help me learn please!