
Serendipity Rating and Watermarks – Beyond the Frame 14/
What is your camera’s "Serendipity Rating" and how to improve it — plus when to use a watermark and how to make a custom watermark in Lightroom.

Bhutan

Serendipity Rating — The Untold Story
The list of any modern camera’s technical specifications will be mind-numbingly long. Dimensions, weight, sensor size, shutter speed range, flash sync speed, buffer size, LCD pixels, gimlet capacity, nodule resistance… (some of these may be fictitious but admit it, you weren’t sure).
Regrettably, few manufacturers include the most important detail for any camera: Serendipity Rating.
If you are in the market for a new camera, I recommend asking the Sales Assistant to reveal each camera’s Serendipity Rating so you can make an informed choice.
The Serendipity Rating (SR) doesn’t affect the camera’s mechanics. It does, however, influence what might appear in front of the lens. I’ll try to explain how SR works with an example.
During a photography workshop in Bhutan, the students were walking around the temple and grounds of a Buddhist temple in Jakar, a small town in the East. Part of the temple is a monastic school, where a handful of novice monks live and learn the tenets of Tibetan Buddhism.

I decided to use the time wisely and immediately put all my youthful energy into… well, nothing.
In such a place there can be an understandable desire to get ALL the photos before time runs out. The FOMO (which I’ve recently learned means Fear Of Missing Out) is real. A strange kind of photography Pokemon game can overcome photographers, who race hither and thither, ticking off a mental list of locations and scenes and portraits and styles and… and… and…
I’ve been there. I’ve done that. And I’ve learned that it’s a fool’s errand. You just can’t get ALL the photos. Better to resist that temptation and focus (pun intended) on making YOUR photos.
This is where the camera’s Serendipity Rating comes in. I always choose a camera with an SR of at least 9.3. The maximum is 12. Or is it 10? I forget. Anyway, the good news is that SR is not a costly feature. Inexpensive cameras can have a superior SR to high-end models.
. 1/30, f/1.2, ISO400, -1 stop, 85mm")
Better still (and not a lot of people know this), SR can increase when the photographer performs certain actions. The more a camera is used, the higher its SR becomes. When a photographer exhibits patience and is willing to remain in one place for an extended period, SR increases.
At the Bhutanese temple, my laissez-faire approach paid dividends. My camera’s SR was obviously pretty high when I climbed the dusty stairs in what seemed to be a long-forgotten wing of the temple. I was just wandering. Aimless.
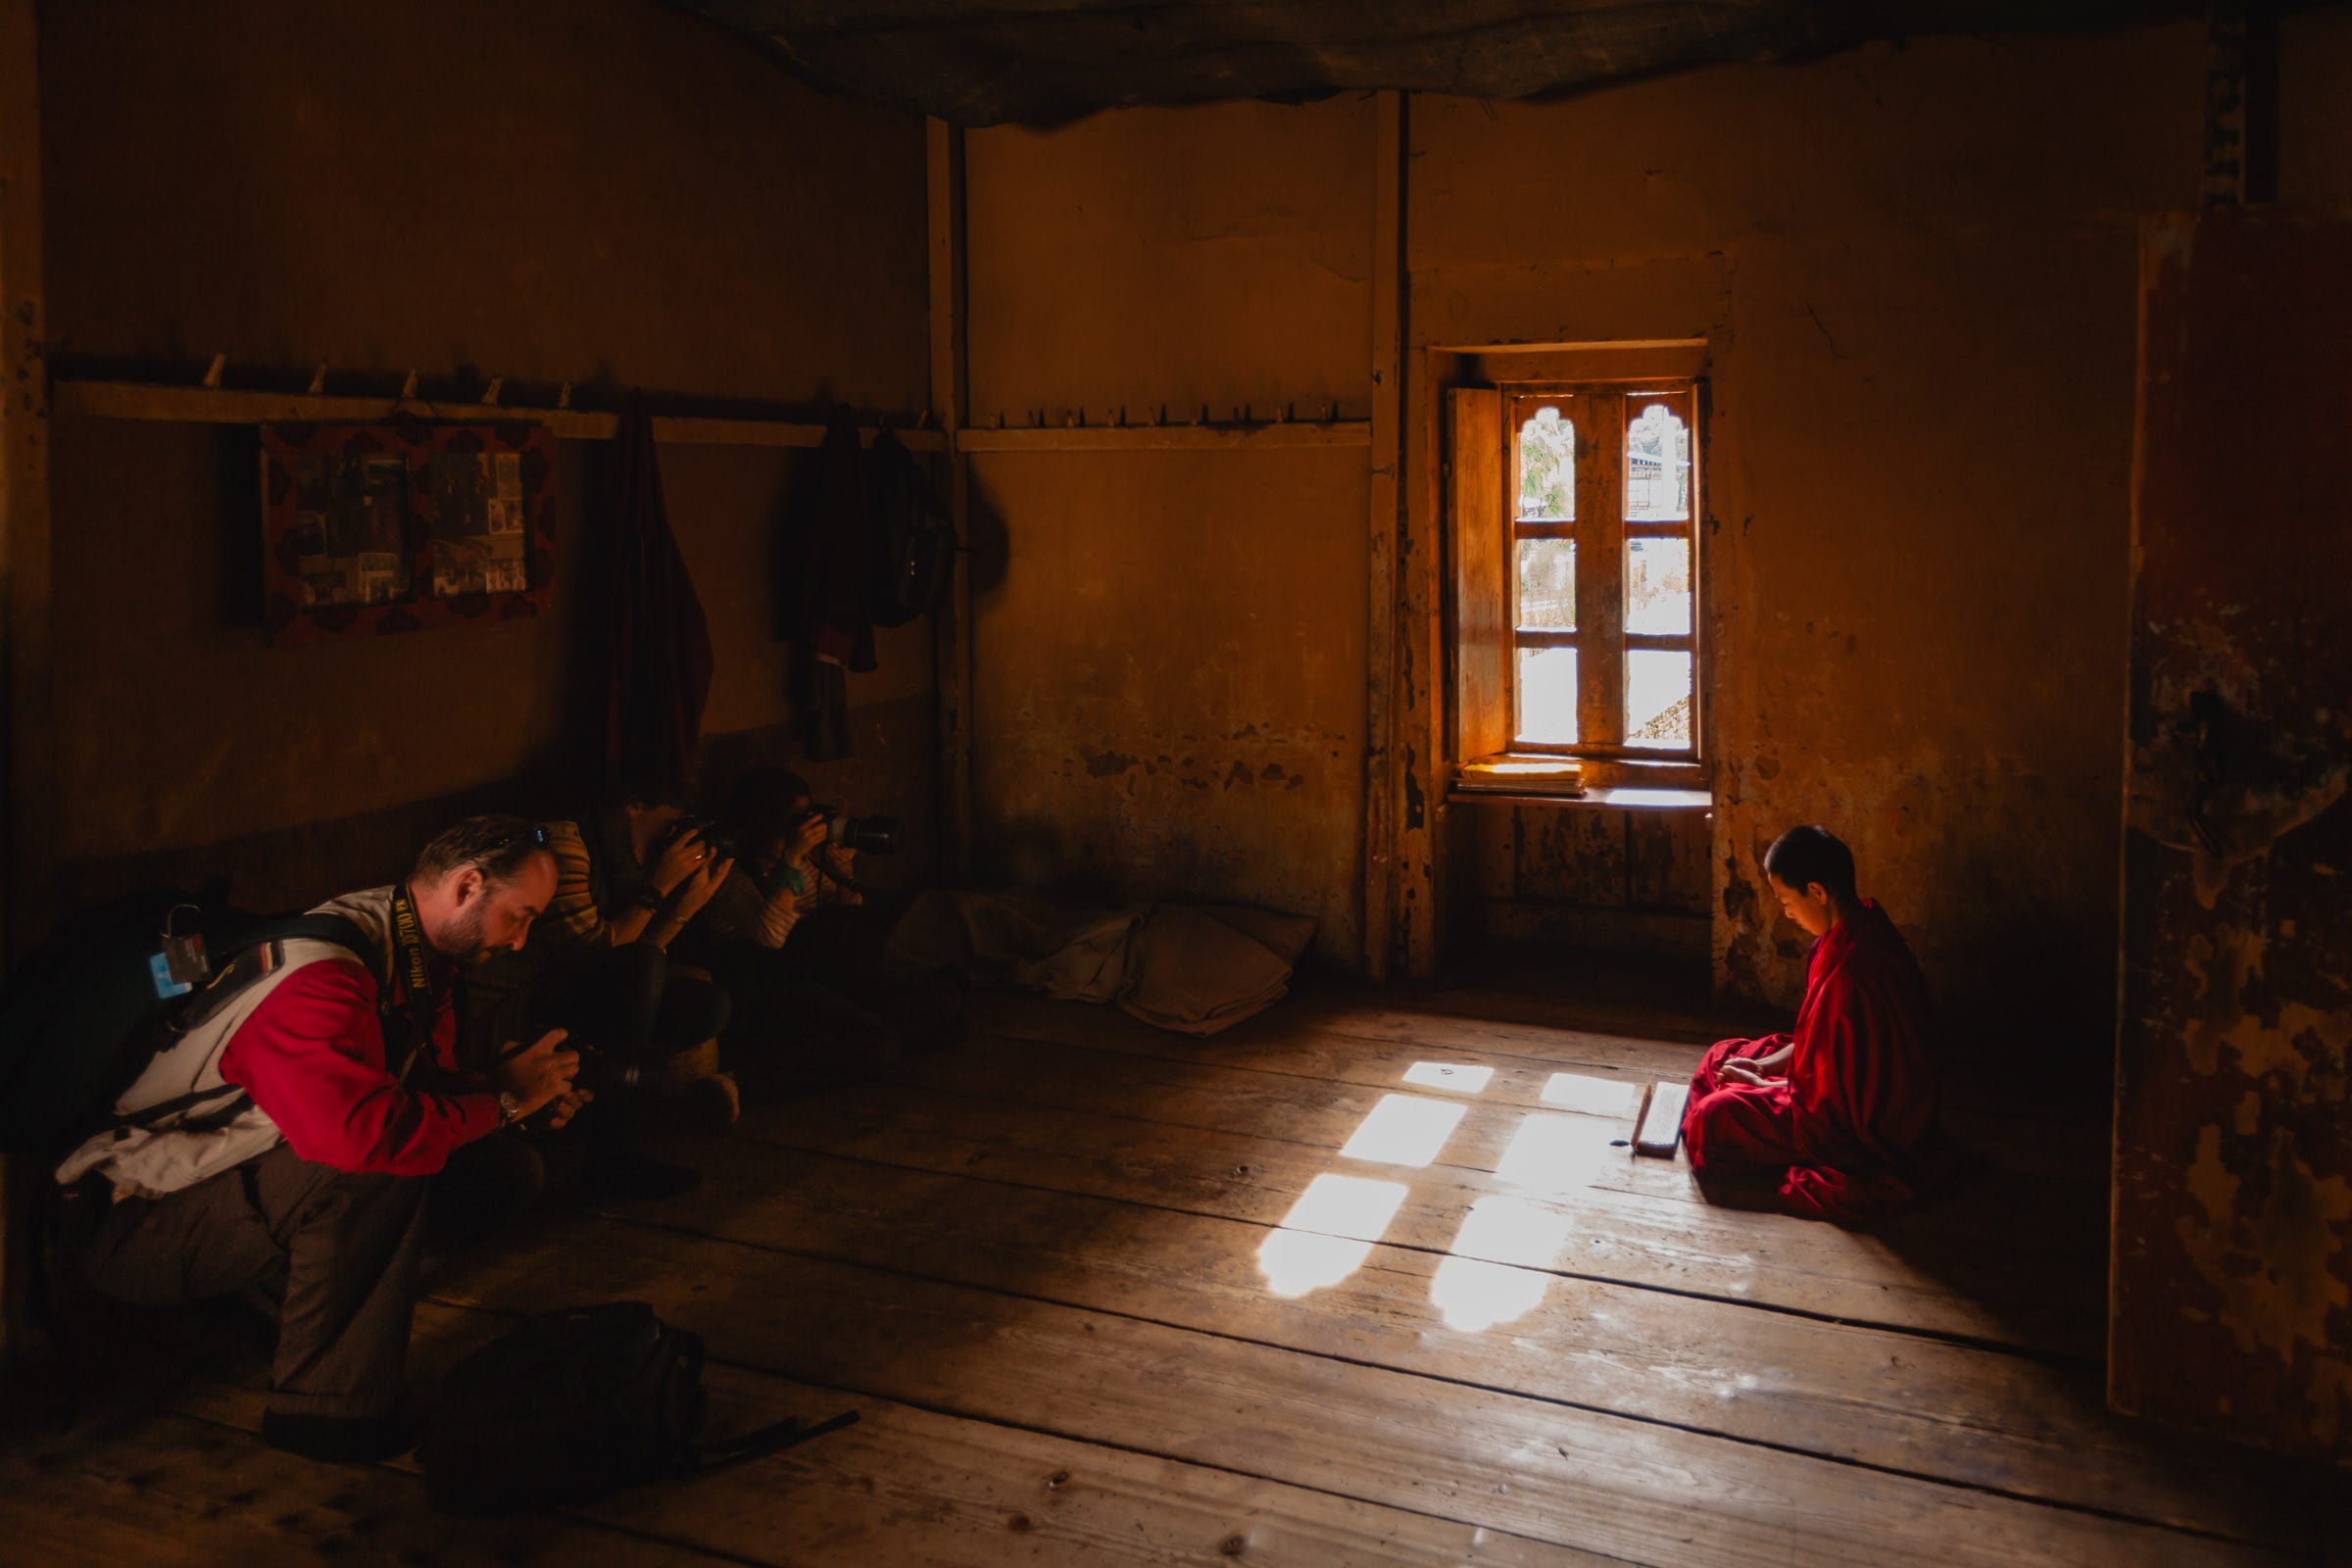
Reaching the top of the stairs it took a moment for my eyes to adjust. Sunlight shone through a single window into an empty room, casting two pillars of light onto the wooden floor.
Sitting cross-legged on the floor, a novice monk was quietly reciting mantras from a narrow page of prayers.
Without pausing, he looked up, beamed a wide smile, nodded towards the space on the floor opposite and returned to his whispered chant.
I sat cross-legged facing him and… did nothing.
He recited the mantras. I listened.
He rocked almost imperceptibly back and forth in time with the rhythm of the chant. I looked through the window at the clouds.
It was, I think, one of the most tranquil and peaceful moments I’ve ever had the privilege to experience.
It’s an example of what a camera with a high Serendipity Rating can produce. Hundreds of frames per second and dizzyingly high pixel counts will only get you so far.
When he reached the end of the page, he looked up and smiled again. I lifted my camera, nodded towards it, raised an eyebrow. His smile grew wider still. He nodded and lifted the page again, not chanting now, just instinctively understanding how he ought to be pictured.
I only made six frames. In a situation like that I’d usually make many more. Change the angle, alter the focal length… But six frames seemed more than sufficient.
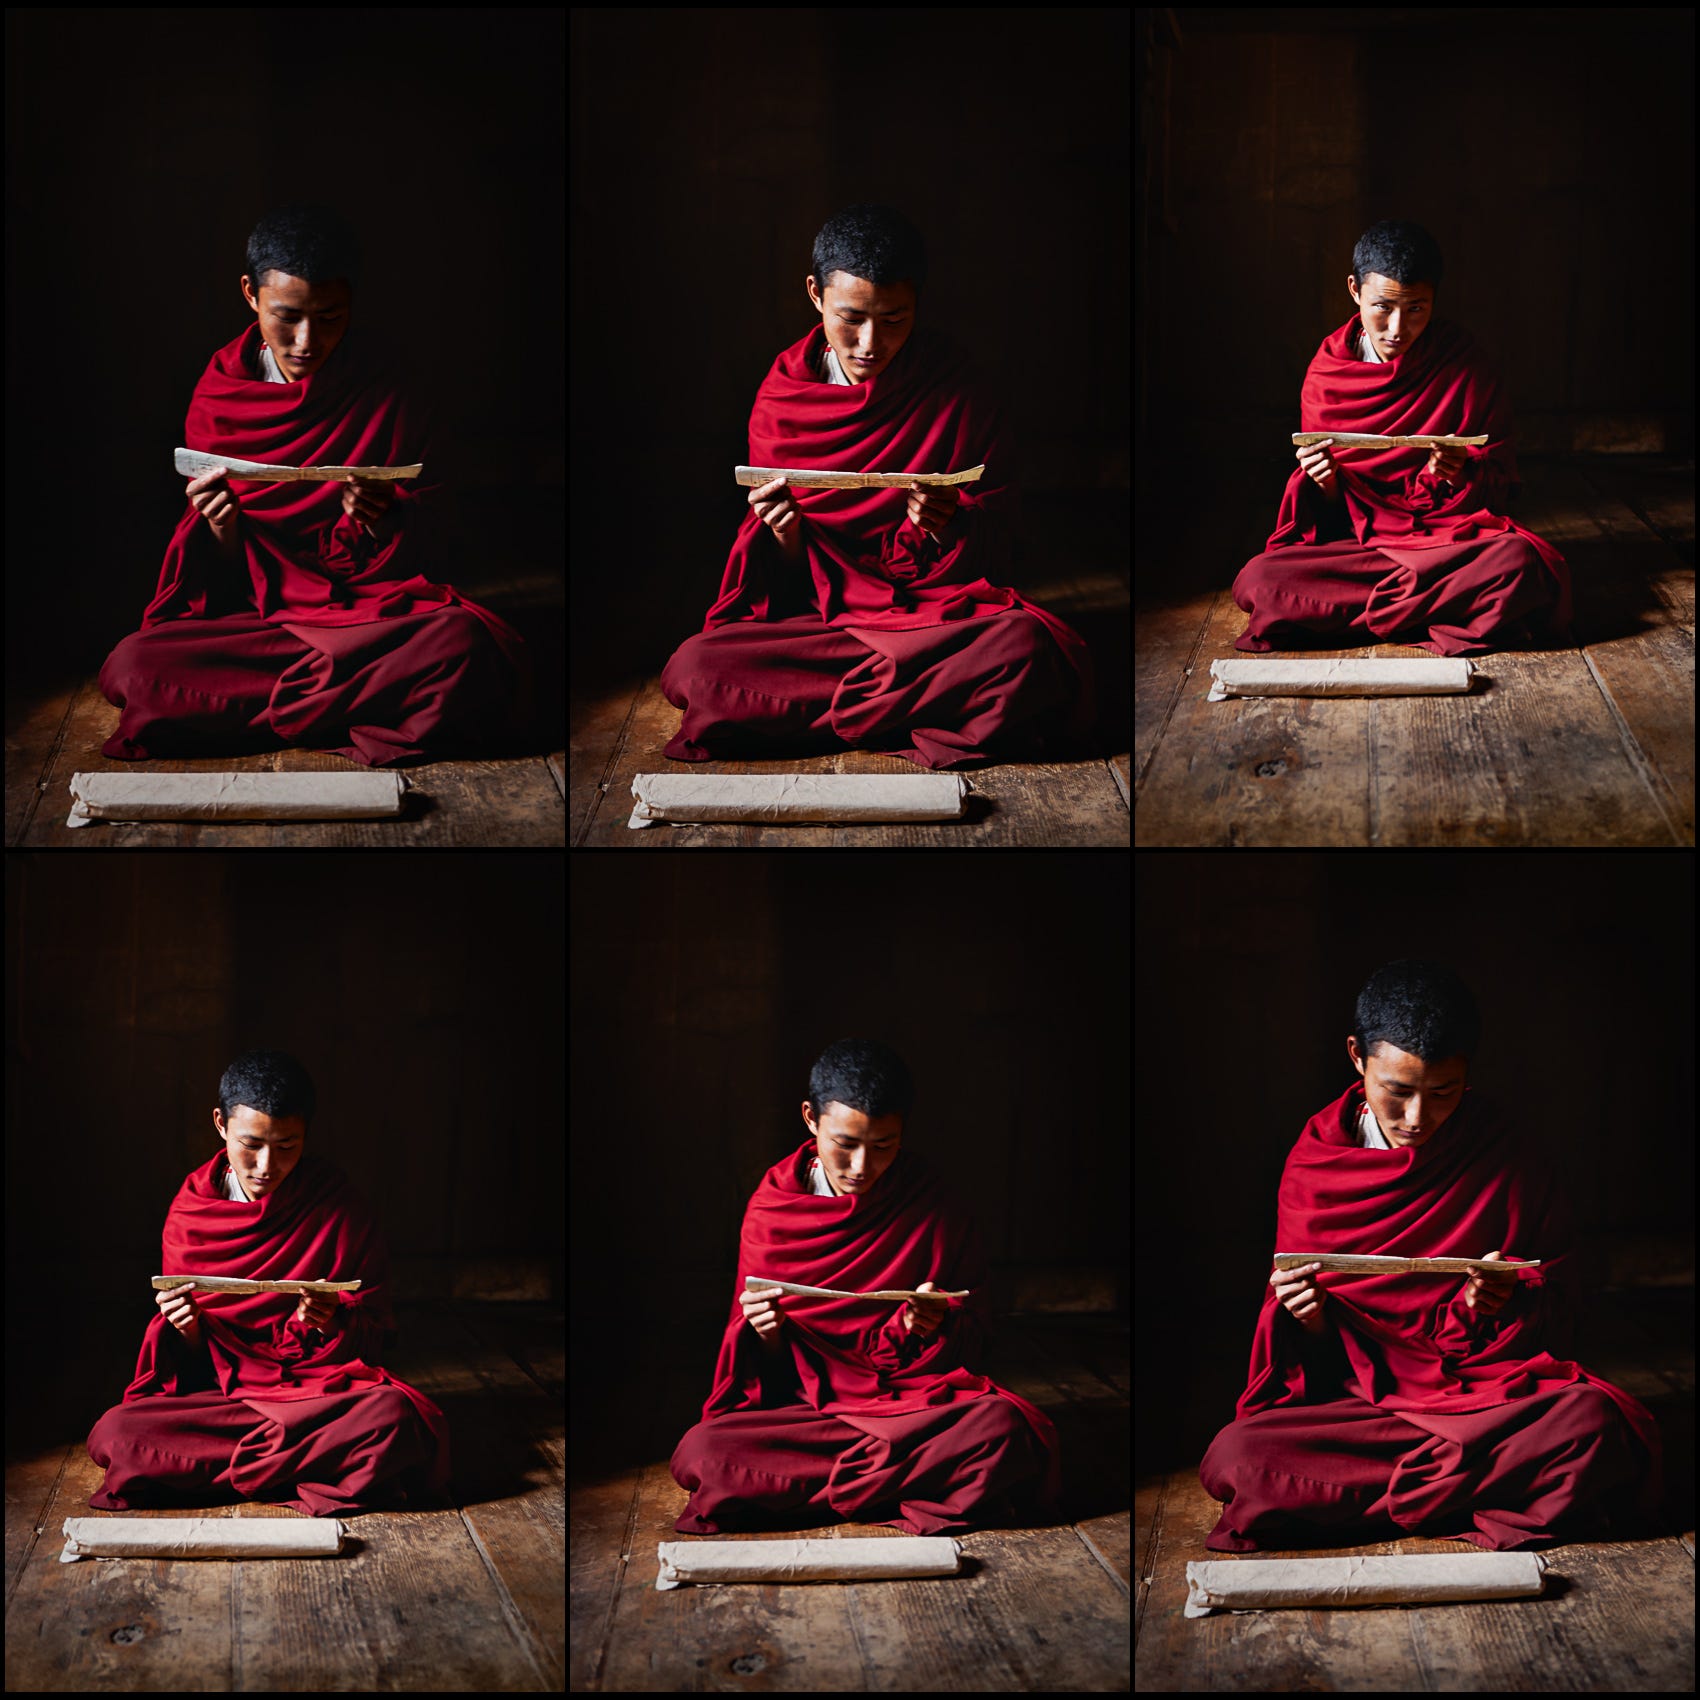
There’s little difference between the six frames but this is the one I prefer:

When I put the camera down, the friendly monk motioned that we should swap places so that he could take a picture of me.
")
Technical Interlude
I use back-button focussing, which means the focussing action is detached from the shutter button. Not having the shutter button activate the auto-focus means that I can frame, focus and fire the shutter independently. It works. If you don’t have your camera set up like that, try it.
That setting is fine for me, not so good for anyone who’s not used to it. I forgot about that, which is why the monk’s picture of me is out of focus. He made an excellent job of the framing, but I think his effort was compromised by his subject’s lack of photogenic appeal.
You might also have noticed in the caption above, I’d set the camera’s exposure compensation to underexpose by one-and-two-third stops. That particular camera has a light metering system that’s great at analysing the whole frame. But in a dark room, it will try to set an exposure to reveal all the shadow details, causing everything to look much brighter than it really was.
Having tested and understood how the camera worked, I knew that using Evaluative Metering whilst dialling in some compensation would produce the best results.
If that sounds confusing, worry not. I intend to write more about exposures, metering and whatnot in a future edition.
You can’t step into the same river twice
I returned to the temple in Jakar with another group of students a couple of years later and we recreated the scene with a different novice monk. The room was unchanged, the sunlight shone through the solitary window with the same intensity… and I know they made some beautiful portraits, but, for me, it wasn’t quite the same experience. Nor should it have been.
I’ve been thinking about returning to Bhutan to run another photography workshop. If I do, it will be for a small group of photographers. If that sounds like something you might enjoy, please register your interest with a quick comment or send me a message and I’ll put you at the top of the list.
No guarantees, but we might even be able to enhance our cameras’ Serendipity Ratings.
Adding a Watermark to Images in Lightroom Classic
A reader asked if I would write about watermarks and explain how to add a watermark to images exported from Lightroom Classic.
(You’ll find a video tutorial at the foot of this edition.)
What is a Watermark?
A watermark is text or graphic, typically a logo, overlayed on a photograph, in order to help protect against copyright theft.
For example, if you look at one of my images on Getty Images, you’ll see a clear watermark.

Similarly, on the 4Corners website (another photo agency), you’ll see a watermark on all images.

Watermarks are not a failsafe, especially now that tools like Photoshop’s AI Generative Fill are able to interpret an image and magically fill defined areas, but they provide one more tool in the photographer’s armoury.
I don’t add watermarks to images for social media but I understand why photographers do. However, I do use watermarks on my online image archive, hosted by Photoshelter.
Why use a watermark?
Some photographers like to add a logo to enhance their marketing efforts. Knowing that any images posted online are liable to be borrowed/copied/stolen, perhaps it’s not unreasonable to accept the inevitable and at least ensure that your name remains on the image.
I think a discreet watermark isn’t a bad thing. Some purists argue that it spoils a photograph and if we were talking about making prints to frame and hang in a gallery, I’d be inclined to agree. For social media and websites, I think it’s fine.
Watermarks have their place and it’s useful to know how to make one without too much fuss. On that note…
How to create a Watermark in Photoshelter
If you’re using Photoshelter, you’ll find a Custom Watermark tool in the Security settings. This is really useful because it allows us to export image files without a watermark, which clients can download, but the online version that appears in a web browser displays the watermark. Win win!


How to create a Watermark in Lightroom Classic
Open Edit Watermarks (Beneath Lightroom Classic - or possibly beneath ‘Edit’ on a PC)
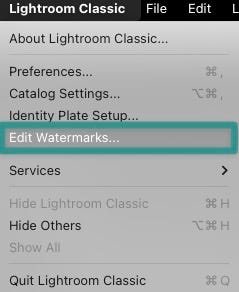
The Edit Watermark window will appear, as if by magic.
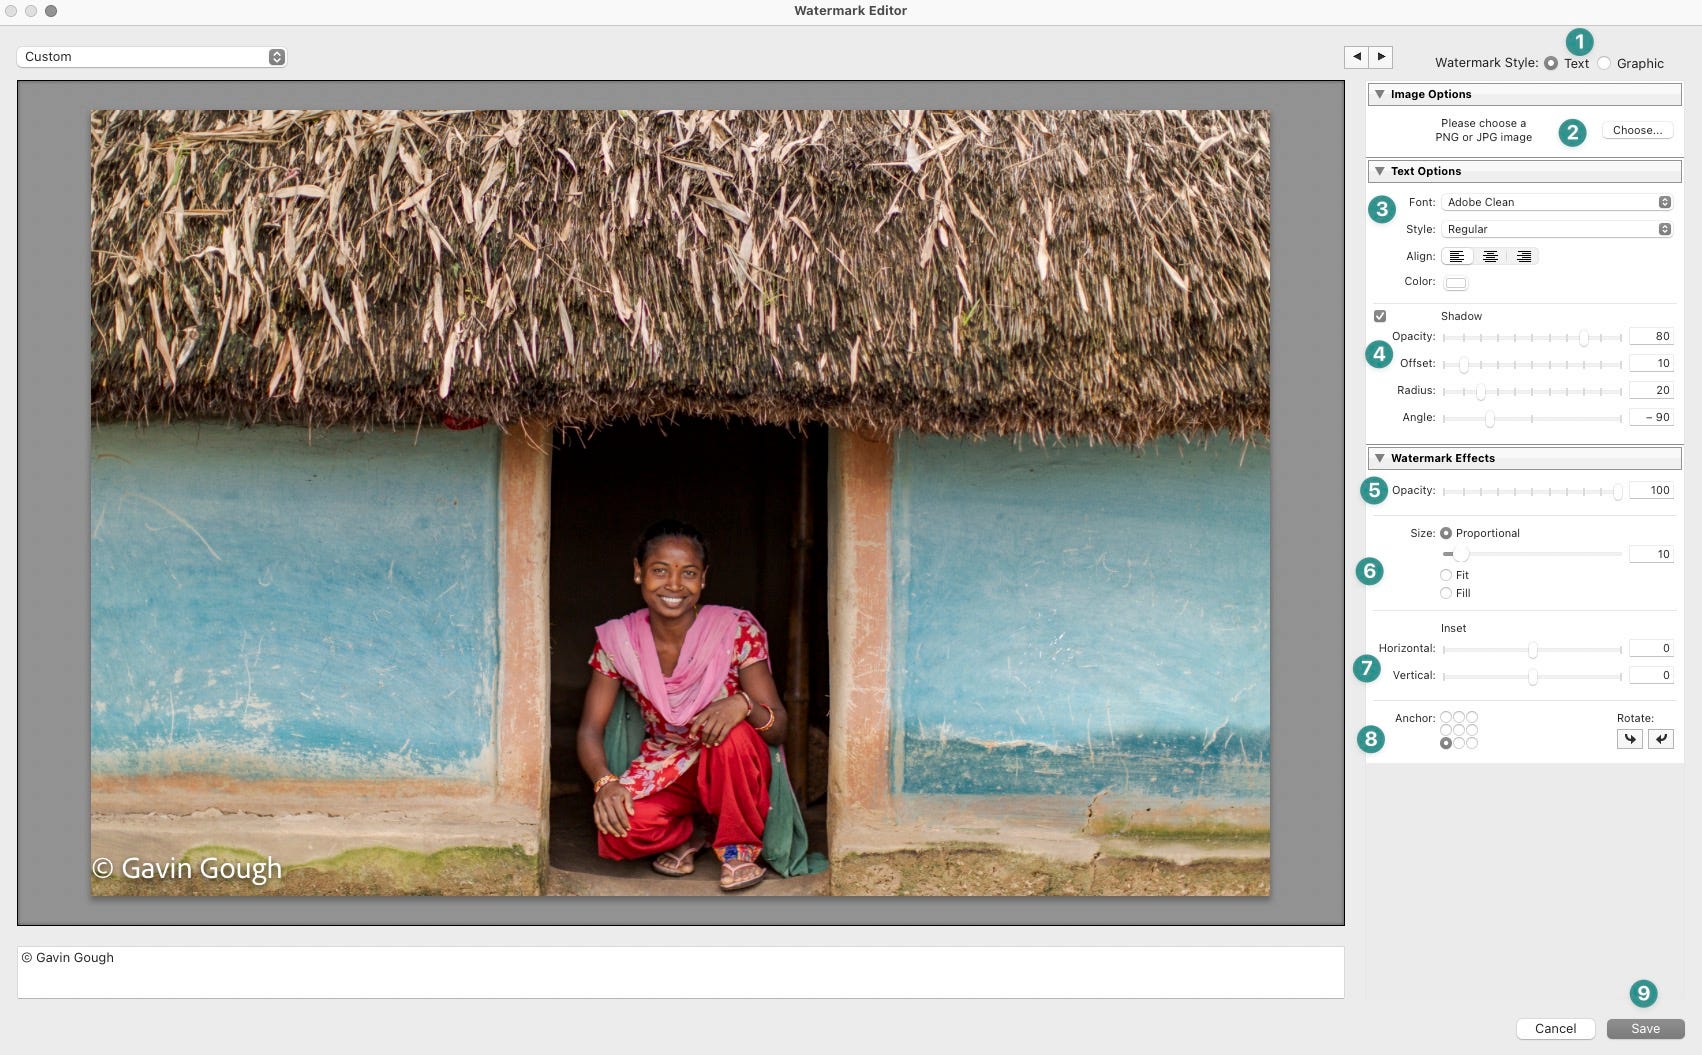
Select whether to display text or a graphic (perhaps a logo). You can alter the text in the field at the foot of the window.
For a graphic watermark, you’ll need to create a JPG or PNG file and locate in on your computer.
For text, adjust the font, style, colour and alignment
The shadow can be useful as it will add a little contrast to the watermark, making it easier to see.
Change the opacity so the watermark is transparent. 50% is about right, in my experience.
Adjust the size of the watermark. Unless you want the watermark to completely cover the image, choose Proportional and adjust the slider
Move the watermark in from the edges of the frame.
Choose the anchor point for the watermark. Bottom left or bottom right is acceptable. Anything else is crazy talk.
Click Save, add a memorable name.
Et violà!
How to use a Watermark
You can apply the watermark each time you export an image file.
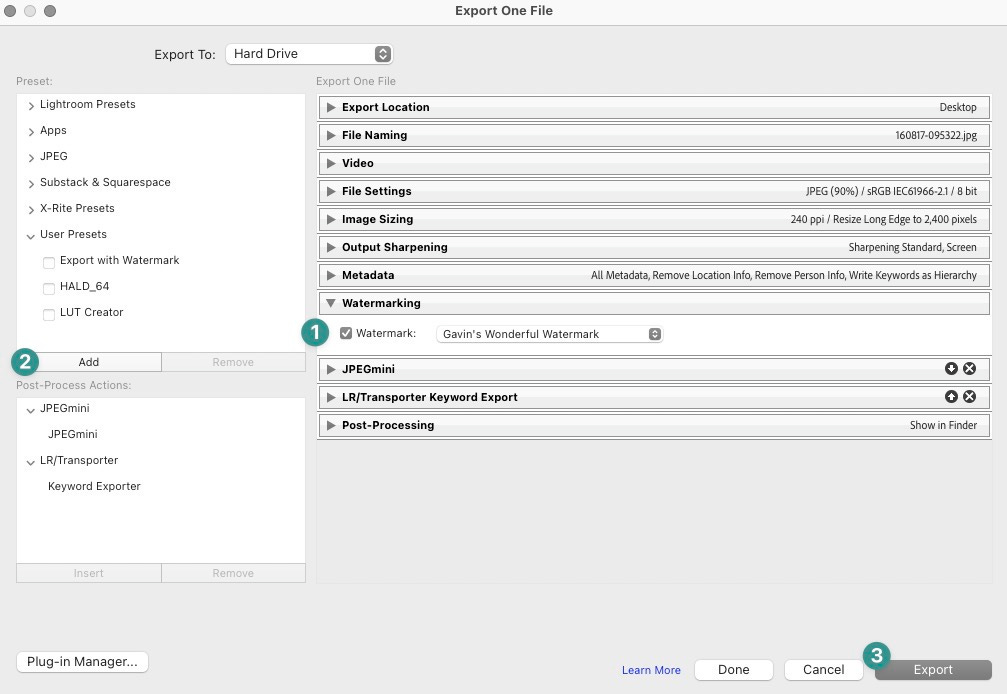
Tick the Watermark checkbox and select your saved Watermark
When all the export parameters have been set, I recommend adding a new preset, so that you can quickly export more image files using the same settings.
Export - You’ll find the file in the export location you specified in the settings
A quick video tutorial
(Please excuse echoey cafe acoustics.)
If you have any comments or questions about watermarks, or if you would like me to cover a specific aspect of my digital image workflow, please leave a comment or send a message.

Beyond the Frame 13/

Why my favourite photography book is not what you might expect and lessons learned from blind photographers.
